The installer file is typically provided to you by registering on the iEnterprises.com or via appexchange for Salesforce.com user.
...
Installation Notes:
Whoever runs the Notes Connector Installer must have Designer or Manager Access in the ACL of the target Mail File or Mail Template File, or the File will not be updated.
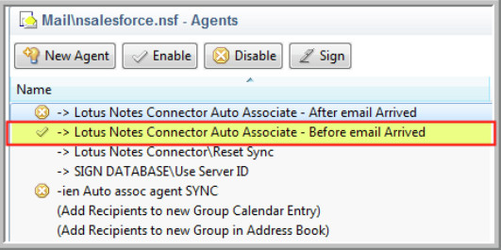
Once Installed, the Mail File or Template should be signed with the appropriate trusted Notes ID to avoid any Execution Control List errors. Refer to your Domino or Mail Database Administrator.
You must use an equal or higher version of the Lotus Notes Client compared to the version of the target Mail File. EX: When selecting to update a Mail Version 8.5.1, you must use a Notes Client 8.5.1 of higher to run the Notes Connector Software.
| Infonote |
|---|
This Installer updates the design of the Mail File or Mail Template. You should discuss any update to a Mail Template with your Lotus Notes Administrator as it could affect other 3rd party elements that have been installed previously. We recommend creating a separate Mail File for the Connector trial should there be concerns. |
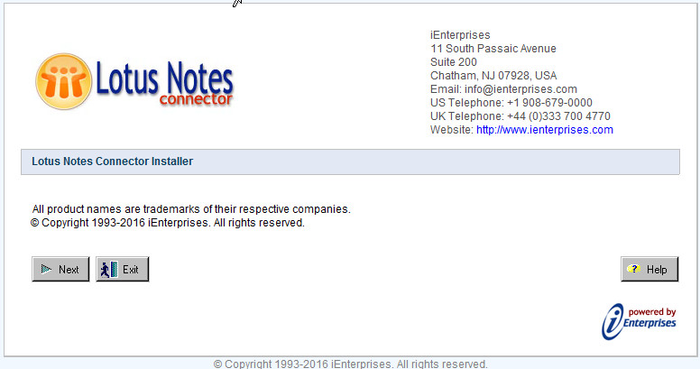
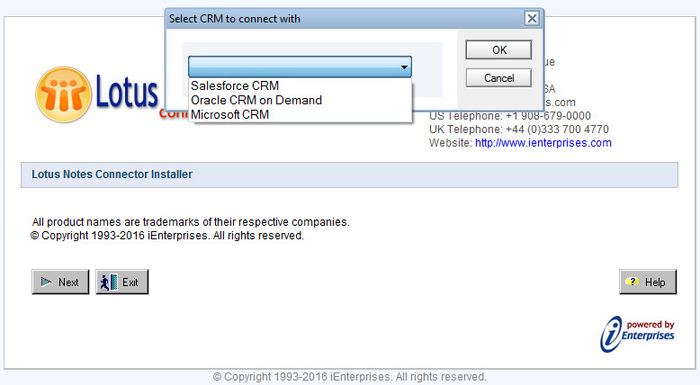
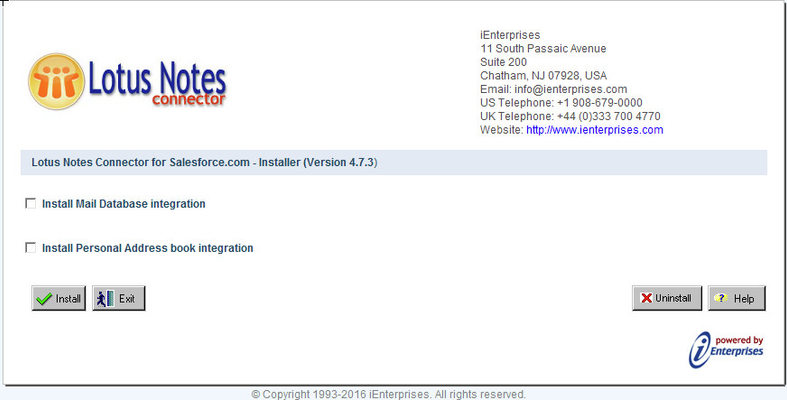
How to Run the LNC Client Installer:
1. Once you have downloaded the "Client Installer" zip file, unzip file that contains our Lotus Notes Connector client plugin Installer.
...
Activation Notes:
The user performing the activation will need to confirm they can login directly to the Data Source using their login credentials. If the user cannot login to Data Source, the LNC activation will fail.
The user’s Data Source profile requires web services privileges. If all Credentials are correct, then confirm with the Data Source Administrator that the user profile can send web service requests.
If the user requires proxy authentication to access the internet, proxy settings will need to be enabled in the Connector settings screen.
Firewalls will need to allow access to the iEnterprises Activation server at the following URL and IP Address:
https://activate.ienterprises.com/activate/getservice
IP Address: 107.20.233.220
If you have any problems setting up or using the Lotus Notes Connector please refer to the help file and troubleshooting files.
If you require further assistance, email support@ienterprises.com
A Note for Mail DB Admins:
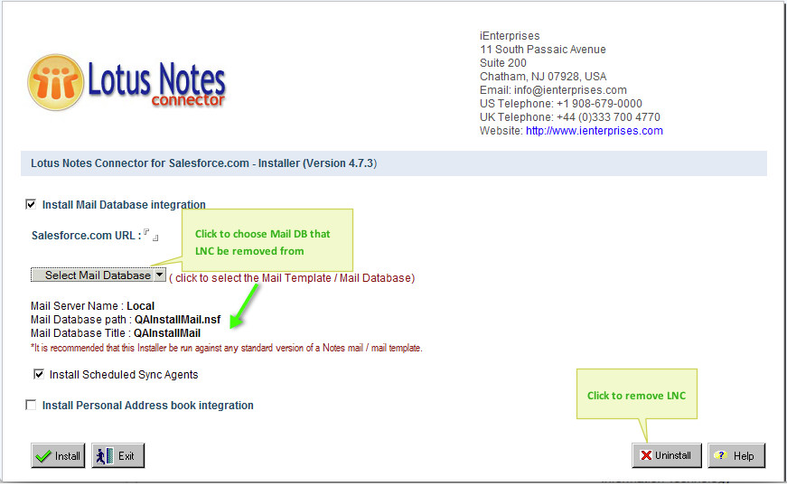
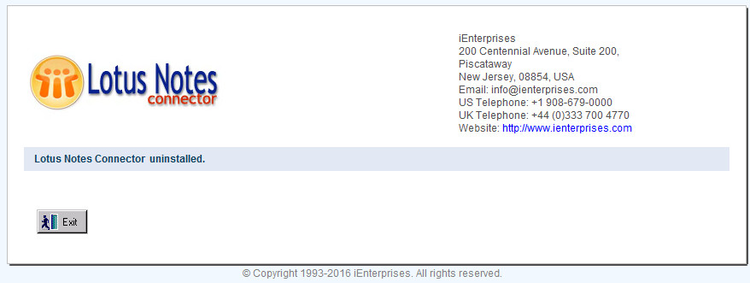
Uninstalling the Lotus Notes Connector Plugin
We are sorry to see you go.
1. To remove the Lotus Notes Connector plugin elements from your mail file, you will need to open and run the installer again.
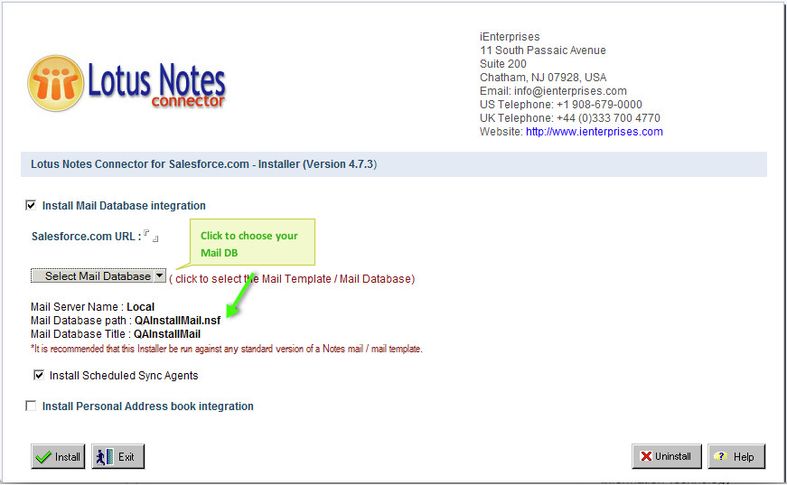
2. On the screen where you select your mail file to be updated, you will select the target mail file as before. Click the ‘Uninstall’ button in the bottom right.