The installer file is typically provided to you by registering on the iEnterprises.com or via appexchange for Salesforce.com user.
...
| Info |
|---|
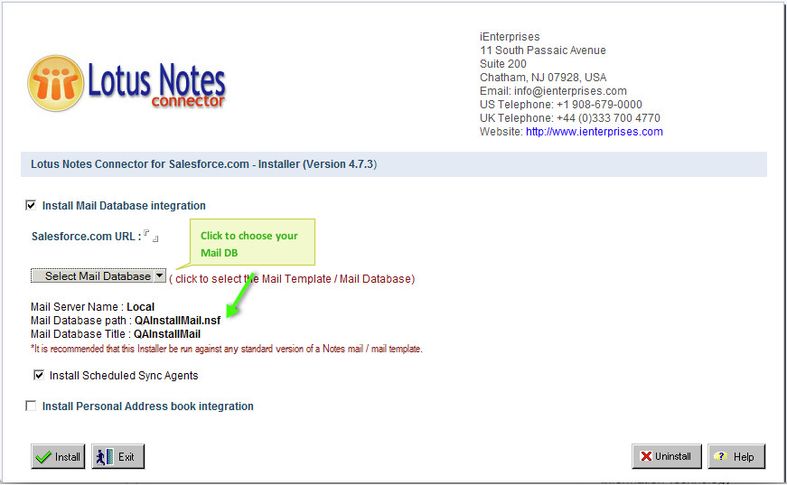
This Installer updates the design of the Mail File or Mail Template. You should discuss any update to a Mail Template with your Lotus Notes Administrator as it could affect other 3rd party elements that have been installed previously. We recommend creating a separate Mail File for the Connector trial should there be concerns. |
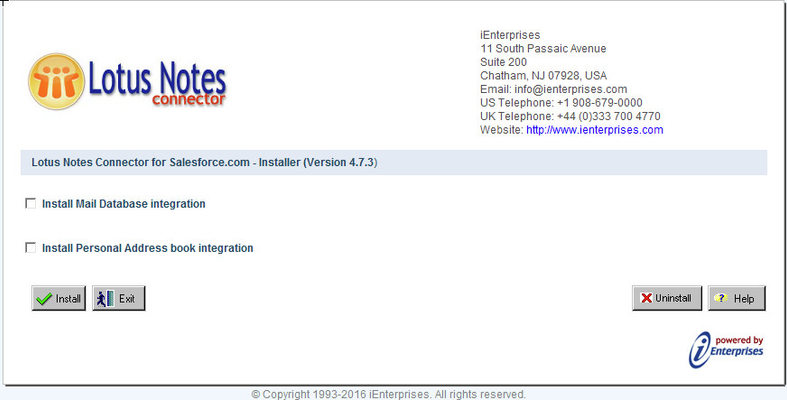
How to Run the LNC Client Installer:
1. Once you have downloaded the "Client Installer" zip file, unzip file that contains our Lotus Notes Connector client plugin Installer.
...
7. Optional :
Click the option to Install Personal Address Book Integration if desired. This feature will allow you to access your PAB through the LNC interface, as well as access your CRM contacts from your PAB.
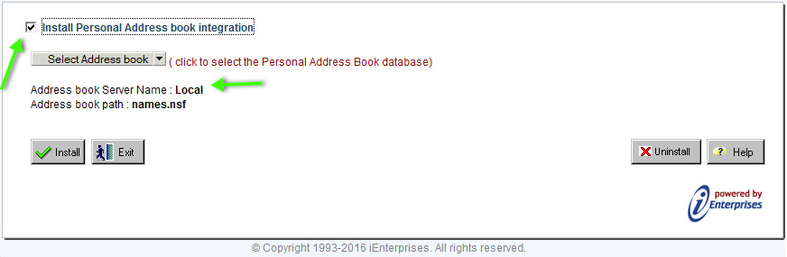
| Note |
|---|
If the Connector will be deployed organization-wide using the Designer then this checkbox must not be enabled. |
8. Once all fields are entered, click the Install button. You will be prompted to confirm Installation, select Yes to continue.
You will see the progress bar.
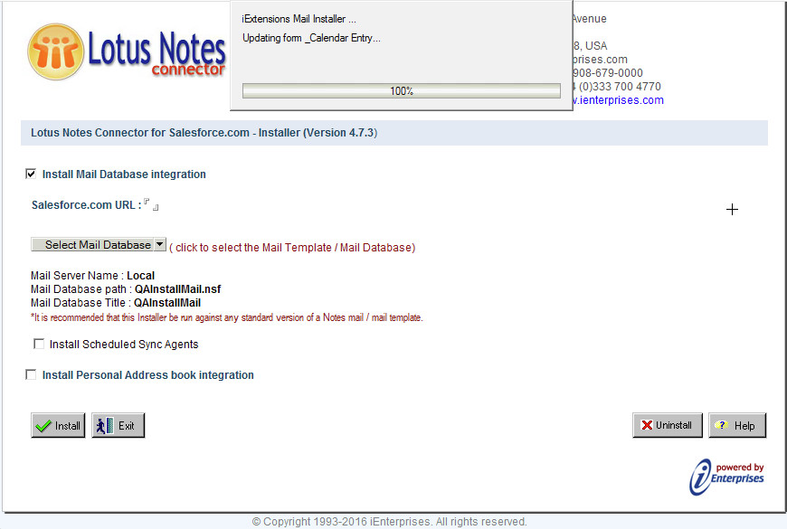
The Install may take some time, it is best to close and reopen Notes once installed.
| Note |
|---|
| Administrator Note: If your Connector deployment method will be via a Mail Template, you should still choose “Install Personal Address Book Integration” to your local address book. You can then create a copy of names.nsf as a Template on the Server and use that Template to deploy the design elements to the other user’s local address books. |
If you get errors that list forms not found or could not be updated, then you did not have sufficient access rights in that mail file’s ACL, and will need to have the operation performed by your Mail File Administrator, or use a Notes ID that does have sufficient access rights in your mail file.
For Manual Installation (to preserve other 3rd party elements or custom design features), refer to the manual installation instructions in the Help file URL at this end of this guide. These instructions are also in the ‘Help -> Using this Application’ menu item of the Installer program.
Activation of the Lotus Notes Connector
...
Activation Notes:
The user performing the activation will need to confirm they can login directly to the Data Source using their login credentials. If the user cannot login to Data Source, the LNC activation will fail.
The user’s Data Source profile requires web services privileges. If all Credentials are correct, then confirm with the Data Source Administrator that the user profile can send web service requests.
If the user requires proxy authentication to access the internet, proxy settings will need to be enabled in the Connector settings screen.
Firewalls will need to allow access to the iEnterprises Activation server at the following URL and IP Address:
https://activate.ienterprises.com/activate/getservice
IP Address: 107.20.233.220
If you have any problems setting up or using the Lotus Notes Connector please refer to the help file and troubleshooting files.
If you require further assistance, email support@ienterprises.com
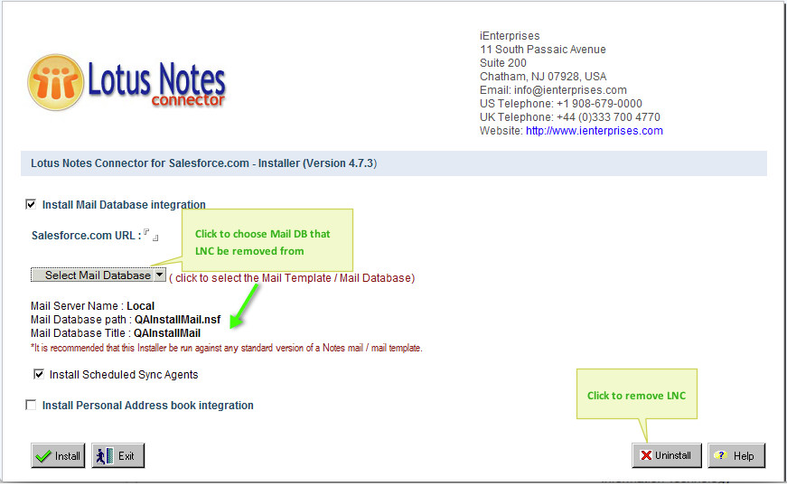
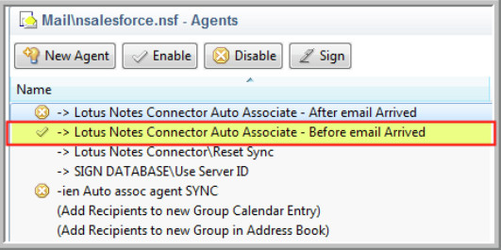
A Note for Mail DB Admins:
Uninstalling the Lotus Notes Connector Plugin
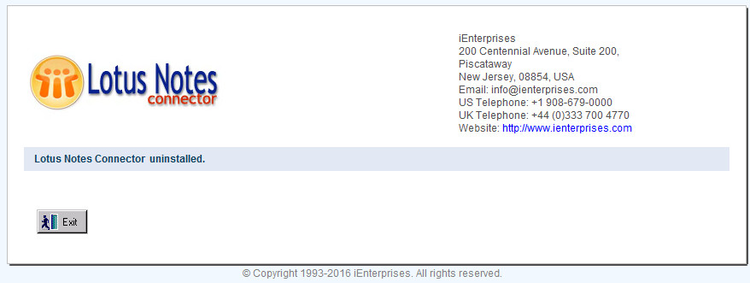
We are sorry to see you go.
1. To remove the Lotus Notes Connector plugin elements from your mail file, you will need to open and run the installer again.
2. On the screen where you select your mail file to be updated, you will select the target mail file as before
. Click the ‘Uninstall’ button in the bottom right.